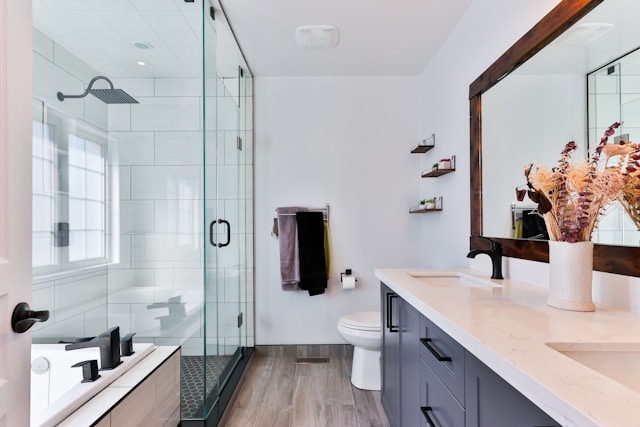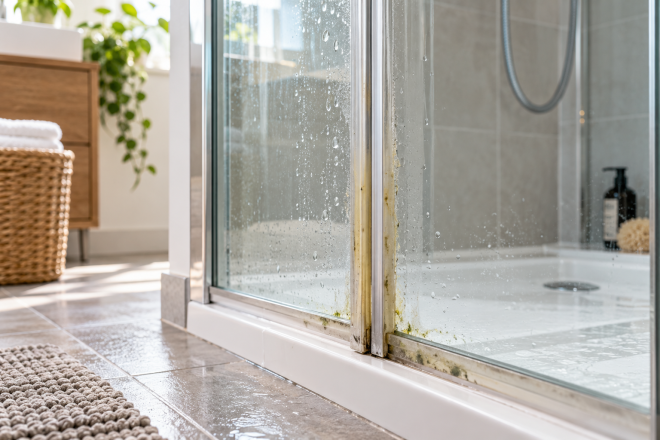
Bathroom mirrors with lights are a game-changer for most households. They not only enhance the room’s ambiance but also provide functional lighting, making them perfect for everything from your morning routine to a nightlight glow.
However, these mirrors are magnets for smudges, fingerprints, dust, and shadowy water spots that can dull their beauty. If you own a bathroom mirror with light, you know the importance of keeping it pristine. But are you cleaning it properly? Below, we’ll walk you through practical, effective, and hassle-free ways to clean your illuminated mirror and illuminate your bathroom with its full brilliance.
Why Cleaning a Bathroom Mirror with Light Requires Extra Care
Before grabbing the nearest cleaner, it’s crucial to understand why these mirrors demand a special cleaning approach. Unlike a standard mirror, bathroom mirrors with lights can be surrounded by delicate LED strips and built-in electrical components. These surfaces require a gentler touch. Using the wrong cleaners or not taking precautions can tarnish the reflective surface or damage the lighted features.
When cleaned properly, your lighted bathroom mirror not only looks better, but also lasts longer. Whether Wellfor’s sleek and stylish lighted mirrors brighten your bathroom or you own another brand, this guide will make mirror cleaning a breeze.
Step-by-Step Guide to Effectively Clean a Bathroom Mirror with Light
1. Gather All Necessary Supplies
Having the right tools makes the cleaning process efficient and safe. Gather these items:
- A microfiber cloth (soft and lint-free).
- A glass cleaner (or a DIY vinegar solution).
- Cotton swabs for hard-to-reach areas.
- A small, soft-bristled brush (optional for detailed cleaning).
- A spray bottle of plain water.
- A non-abrasive sponge.
Avoid: Harsh abrasives, ammonia-based cleaners, or any sprays with alcohol that can damage the light’s components or leave streaks.
2. Turn Off the Lighted Mirror
For safety, always disconnect your lighted mirror from power before cleaning. Even if your mirror is powered by batteries, this step is crucial. Wet cleaning near electrical elements can pose a potential hazard if left powered on.
3. Dust and Prep the Mirror Surface
- Begin by using a dry microfiber cloth to wipe away any loose dust or debris.
- Pay attention to the corners where dust can accumulate. Use a cotton swab for intricate edges near the lighting strip.
Why start with dry cleaning? Because jumping straight into wet cleaning can smear debris, causing streaks right from the start.
4. Clean the Mirror Surface with a Gentle Glass Cleaner
- Spray a moderate amount of cleaner onto the microfiber cloth instead of directly onto the mirror. This prevents cleaner from dripping onto the lighting strips or seeping into edges where water can cause damage.
- Wipe down the mirror in small circular motions.
- For stubborn spots, apply slightly more pressure, but avoid scrubbing harshly.
Pro Tip: If you’re dealing with numerous smudges or fingerprints, mix equal parts vinegar and water in a spray bottle. Vinegar cuts through grime while being gentle on both the glass and lighted features.
5. Pay Attention to the Light Strips
Bathroom mirrors with LED lights often have thin strips that border the glass, adding a modern glow. To clean these without damaging them:
- Use a cotton swab lightly dampened with water. Carefully run it over the strips to clear away any dirt.
- Be cautious not to press too hard, which can dislodge components.
6. Remove Fog Build-Up
If your bathroom mirror with light faces frequent condensation from showers, it’s likely to develop a foggy residue over time. To conquer this:
- Mix dish soap with water and apply a small amount to a microfiber cloth.
- Wipe the entire surface and follow up with a clean, damp cloth to remove soap residue.
- Dry with a fresh microfiber towel.
A quick anti-fog hack is to rub a thin layer of shaving cream on the mirror, buff it away with a clean cloth, and enjoy fog-free reflections for a short while.
7. Polish and Finish
For that showroom-quality shine, finish off the cleaning process with a second, dry microfiber cloth. Working in a zigzag motion, buff away any remaining moisture or streaks from the mirror.
8. Test the Lighting
Once the cleaning is finished, reconnect and test the lights. The clarity of the mirror paired with the brightness of its lights should immediately transform your space.
Pro Cleaning Tips for Long-Lasting Sparkle
- Regular Cleaning Schedule: Clean your bathroom mirror with light weekly to keep dust and grime at bay. Quick touch-ups between deep cleans will save time.
- Always Avoid Harsh Tools: Stay away from steel wool or scouring pads, which can scratch the mirror and housing.
- Mind the Bathroom’s Humidity: Mirrors with built-in lights are sensitive to high moisture levels. Use your bathroom’s ventilation fan during showers or invest in a dehumidifier if necessary.
- Check the Edges for Mold: The edges of bathroom mirrors with light are prone to tiny mold growth. If you spot any, clean it gently with a vinegar solution and dry immediately.
Troubleshooting Common Issues
Did you follow all the steps but still notice issues? Here are fixes for common problems:
- Streaky Surface: Use distilled water instead of tap water, which reduces mineral-related streaks.
- Lights Flickering or Dim: Ensure all electrical connections are dry and securely powered.
- Persistent Fogging Issues: Use anti-fog sprays specifically designed for mirrors for longer-lasting results.
Why Cleaning a Bathroom Mirror with Light Adds Value
By taking proper care of your bathroom mirror with light, you’re doing more than cleaning; you’re extending its lifespan and maintaining its functionality. LED elements are usually designed to last for years, but not cleaning them properly can dull their brilliance over time. Keeping the reflective surface clear and bright ensures that your grooming, skincare routines, or morning shaves are hassle-free and effective.
Upgrade Your Bathroom Routine with Wellfor Mirrors
If you’re looking for a reliable option with cutting-edge features, Wellfor bathroom mirrors with lights set a new standard in both style and performance. Designed to be durable, sleek, and incredibly functional, these mirrors simplify your daily routines while elevating your bathroom’s overall look.
After all, half the joy of owning a modern illuminated mirror is seeing it at its best.
Final Thoughts
Cleaning a bathroom mirror with light doesn’t have to be daunting if you approach it with the right tools and steps. By giving it a little TLC consistently, you can keep your mirror flawless, your lights vibrant, and your bathroom looking immaculate. Prioritize safety, use gentle products, and you’ll enjoy crystal-clear reflections for years to come.
What are you waiting for? Grab your microfiber cloth, and give that mirror the glow-up it deserves!